Home Theater Design Checklist: Create Your Luxury Space
- garygarihanjr
- Sep 15, 2025
- 11 min read
Dreaming of a luxury home theater often brings visions of plush seats and giant screens. Yet most people are surprised to learn that a professionally installed home theater can cost anywhere from $10,000 to $100,000 depending on your ambitions. The shocker is that spending big is not what guarantees that jaw-dropping experience you see in designer magazines. Instead, you can craft a cinema-quality sanctuary right at home with smart planning, a few insider tips, and laser-sharp attention to room basics. Ready to rethink what luxury truly means for your entertainment space?
Table of Contents
Quick Summary
Key Point | Explanation |
1. Assess your space thoroughly | Measure dimensions and note acoustic and lighting conditions for effective design. |
2. Define a realistic budget | Break down costs into essential categories to prioritize spending effectively. |
3. Strategically plan equipment layout | Position screen and speakers for optimal viewing and listening experiences. |
4. Choose quality acoustic treatments | Use sound-absorbing materials to enhance audio clarity and reduce reflections. |
5. Integrate smart automation systems | Connect components for seamless control over lighting, audio, and video setups. |
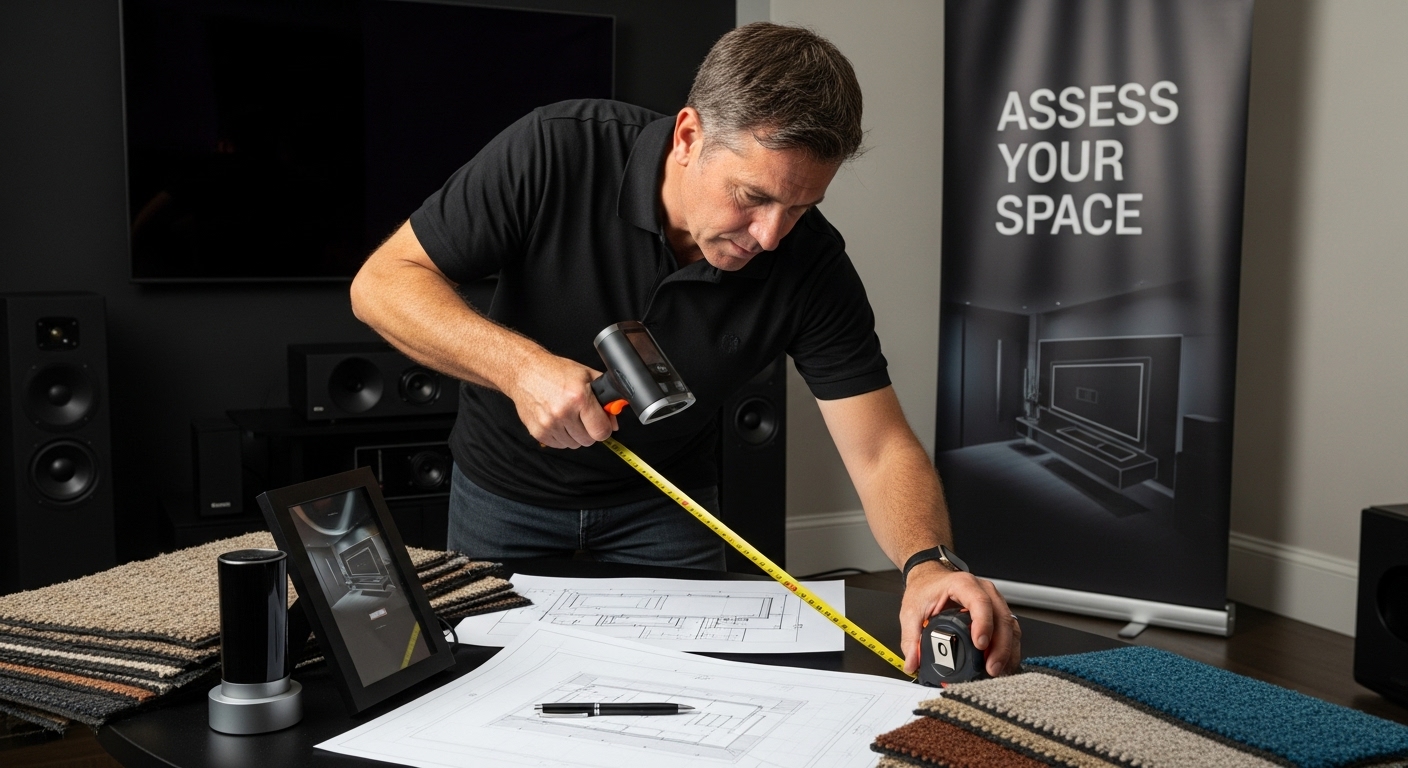
Step 1: Assess Your Space and Requirements
Creating a luxury home theater begins with a comprehensive evaluation of your available space and specific entertainment requirements. Understanding your room’s unique characteristics allows you to design a personalized audio visual experience that seamlessly integrates with your home’s architectural layout.
Start by carefully measuring the room’s dimensions, paying close attention to ceiling height, wall lengths, and potential obstacles like windows, doors, or support columns. Precise measurements are critical for determining speaker placement, screen size, and seating configuration. Take detailed notes and create a scaled drawing that captures every architectural nuance.
Consider the room’s acoustic properties and potential challenges. Rooms with hard surfaces like tile or concrete floors will create sound reflections that diminish audio quality. Soft materials such as carpets, curtains, and upholstered furniture help absorb sound and minimize unwanted echoes. Acoustic treatment becomes essential in creating a professional sound environment.
Analyze the room’s natural lighting conditions and potential glare sources. Direct sunlight can wash out projected images, so evaluate window placements and consider light-blocking solutions like blackout curtains or motorized shades. North or south facing rooms typically provide more consistent lighting conditions for optimal viewing experiences.
Assess your technical requirements by understanding your entertainment preferences. Will you primarily watch movies, sports, or gaming? Each category demands different audio visual configurations. Hardcore cinephiles might prioritize immersive surround sound systems, while gaming enthusiasts might need higher refresh rate displays and low latency audio setups.
By meticulously evaluating your space and personal entertainment needs, you establish a solid foundation for an extraordinary home theater design that reflects your unique lifestyle and aesthetic preferences. The insights gathered during this initial assessment will guide every subsequent decision in your home theater creation journey.
Below is a checklist table that summarizes the key verification steps for your home theater project, helping you ensure each phase is completed thoroughly before moving to the next.
Step | Verification Checklist Item | Description |
1 | Complete room dimensional sketch | Measure and document room layout to inform design decisions |
1 | Document potential acoustic challenges | Identify surfaces or features that could affect sound quality |
1 | Identify lighting and glare potential | Assess natural and artificial light sources and their impact |
1 | List specific entertainment usage scenarios | Clarify how the room will primarily be used (movies, sports, gaming) |
1 | Confirm technical compatibility with planned equipment | Ensure your room and plans support the AV equipment you want |
2 | Comprehensive budget breakdown completed | Divide total costs into main categories for clarity |
2 | Priority technologies identified | Choose which AV components are top priorities |
2 | Potential upgrade paths mapped | Plan ahead for future system improvements |
2 | Professional consultation scheduled | Arrange for expert advice on design and installation |
2 | Realistic financial plan established | Set and stick to a practical spending limit for your project |
Verification Checklist:
Complete room dimensional sketch
Document potential acoustic challenges
Identify lighting and glare potential
List specific entertainment usage scenarios
Confirm technical compatibility with planned equipment
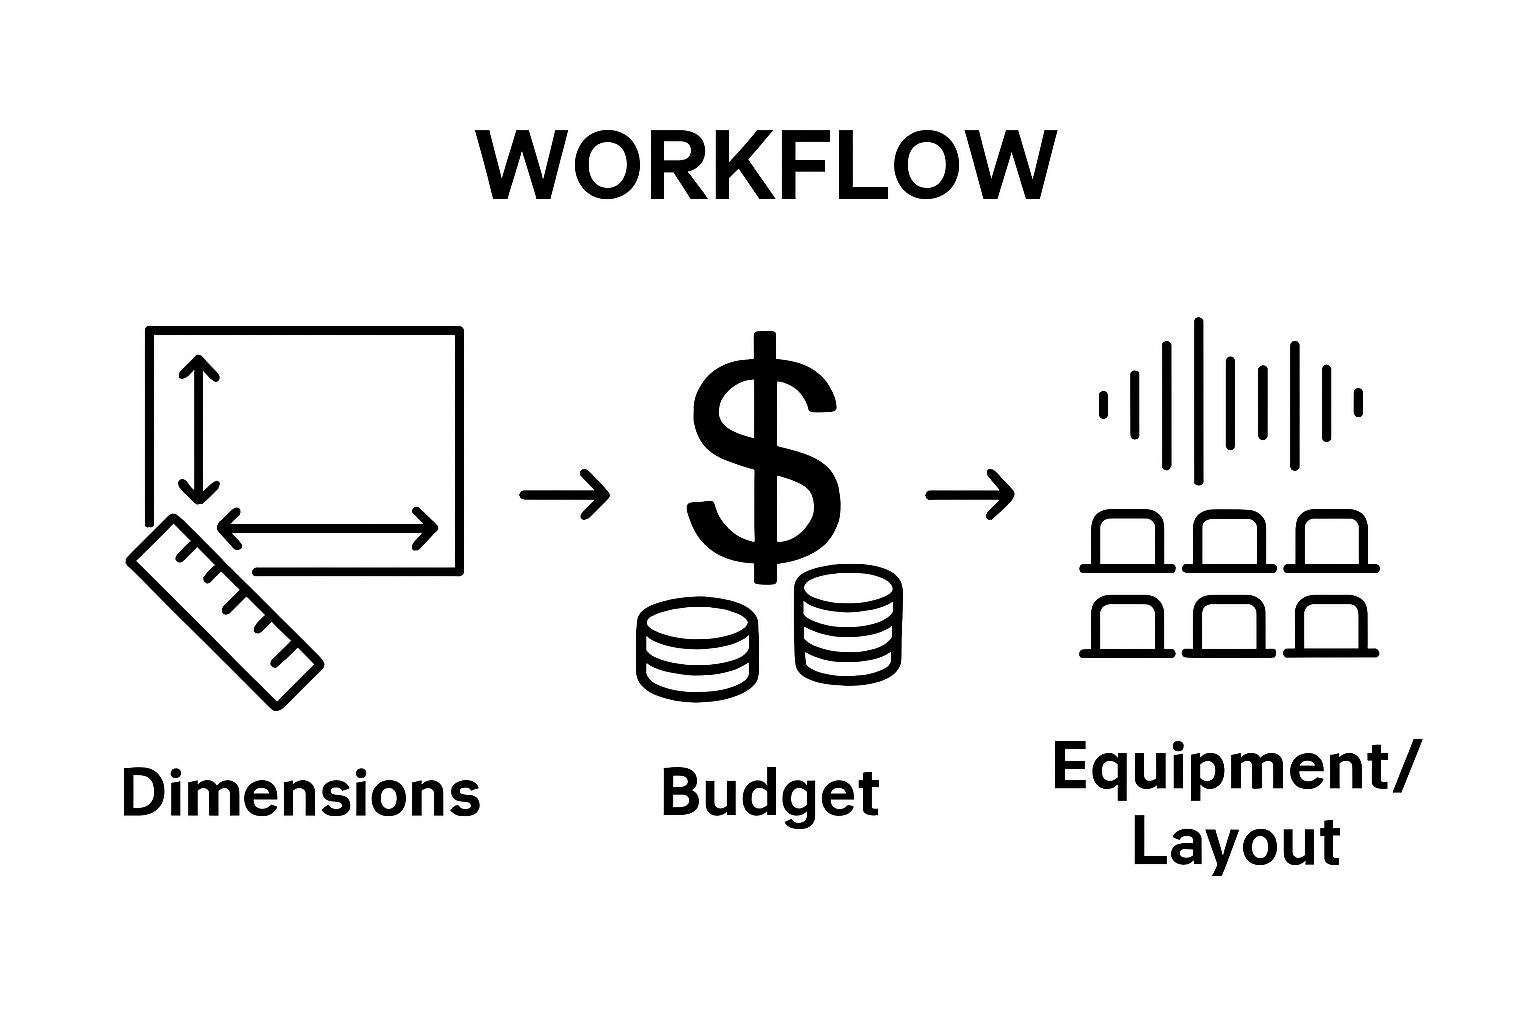
Step 2: Define Your Budget and Priorities
Transforming your home theater vision into reality requires strategic financial planning and clear prioritization. Budget definition is not about limiting your dreams but channeling your resources toward creating a truly exceptional entertainment space that maximizes both performance and value.
Establishing a realistic budget begins with understanding the total investment required for a luxury home theater. Break down your budget into primary categories: audio equipment, visual systems, acoustic treatments, seating, electrical work, and potential structural modifications. Professional home theater installations typically range from $10,000 to $100,000, depending on complexity and desired features.
Prioritize your must-have elements by creating a tiered approach to your investment. Core technology components like projectors, screens, and sound systems should receive the most significant financial allocation. High-performance audio visual equipment forms the foundation of an immersive entertainment experience. Consider allocating approximately 50-60% of your total budget to these critical technological elements.
Next, evaluate secondary investments like custom cabinetry, specialized seating, acoustic panels, and lighting control systems. These elements enhance the overall experience but can be scaled based on remaining budget. Look for opportunities to create visual and functional impact without excessive spending. Custom solutions do not always mean astronomical costs when planned intelligently.
Remember that future upgradeability matters. Select core technologies with modular designs that allow incremental improvements. This strategy prevents complete system obsolescence and provides flexibility as audio visual technologies continue evolving. Some components like speaker infrastructure and electrical wiring should be installed with long-term expansion in mind.
Consult with professional home theater designers who can provide transparent cost breakdowns and recommend optimal investment strategies. Their expertise helps balance performance expectations with budgetary constraints, ensuring you achieve maximum entertainment value.
Verification Checklist:
Comprehensive budget breakdown completed
Priority technologies identified
Potential upgrade paths mapped
Professional consultation scheduled
Realistic financial plan established
Step 3: Plan Your Equipment and Layout
Designing the perfect home theater layout requires a strategic approach that balances technological performance with aesthetic elegance. Your equipment selection and spatial arrangement will determine the immersive experience you create, transforming an ordinary room into an extraordinary entertainment sanctuary.
Screen placement becomes the cornerstone of your home theater design. Consider viewing distance and angle critically. The ideal screen size depends on your room dimensions and seating arrangement. Professional designers recommend a screen width that occupies approximately 30-40 degrees of your horizontal viewing angle.
This means for a typical room, a 120-inch screen might be perfect when viewers sit 12-14 feet away.
Sound system configuration demands equal precision. Surround sound speakers must be positioned strategically to create a seamless audio environment. Traditional 5.1 or advanced 7.1 configurations require careful speaker placement. Center channel speakers should align directly with your screen, while rear and side speakers create depth and immersion. Consider acoustic treatments like sound-absorbing panels to minimize audio reflections and enhance sound clarity.
Projector and display technologies offer multiple configuration options. Ceiling-mounted projectors provide clean installations but require precise calibration. Alternatively, motorized drop-down screens and hidden projector systems can maintain a room’s aesthetic when entertainment systems are not in use. Consider ambient light conditions and select projection technologies with appropriate brightness and contrast ratios.
Electrical infrastructure represents another critical planning element. Dedicated electrical circuits prevent power fluctuations that could interrupt your entertainment experience. Plan cable management pathways to maintain a clean, professional appearance. Concealed conduits and specialized raceway systems help integrate technology seamlessly into your room’s design.
The final layout should prioritize comfortable viewer experience. Seating arrangement, screen visibility, and acoustic performance must work harmoniously. Consider risers for multiple rows, specialized home theater seating with integrated cup holders and charging stations, and lighting control systems that enhance visual comfort.
Verification Checklist:
Screen size and viewing angle calculated
Speaker placement diagram completed
Electrical infrastructure requirements mapped
Seating configuration finalized
Acoustic treatment strategy developed
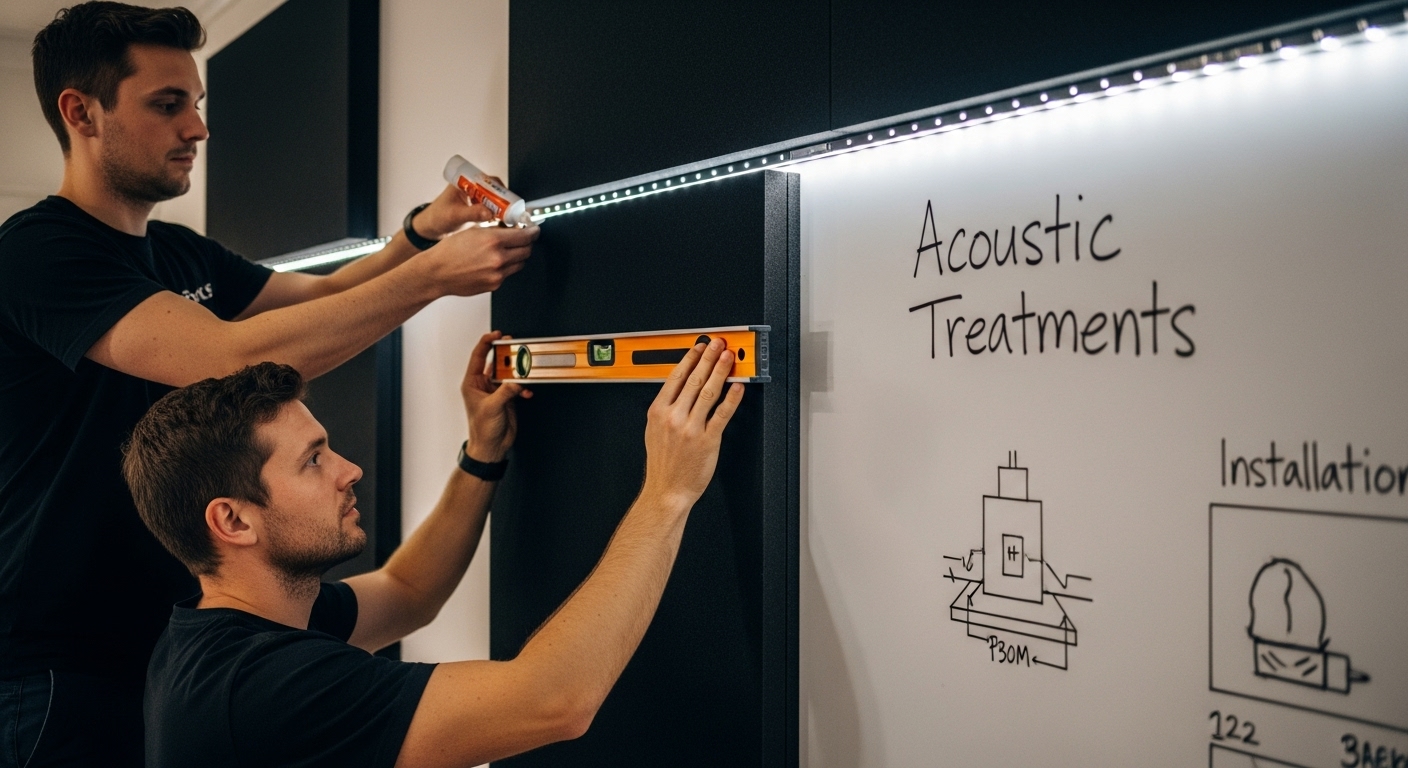
Step 4: Choose Acoustic Treatments and Lighting
Transforming your home theater into a professional-grade entertainment space requires meticulous attention to acoustic treatments and lighting design. These elements are not mere aesthetic choices but critical components that define the sensory quality of your viewing experience.
Acoustic treatments serve as the foundation of superior sound quality. Sound-absorbing materials strategically placed around your room can dramatically reduce unwanted reflections and echoes. Consider specialized acoustic panels made from high-density fiberglass or specialized foam that can be mounted on walls and ceilings. These panels come in various designs, allowing you to integrate them seamlessly into your room’s aesthetic while dramatically improving audio performance.
Understand that different room surfaces interact with sound waves uniquely. Hard surfaces like concrete or glass reflect sound, creating harsh audio environments. Soft materials such as thick curtains, carpets, and upholstered furniture help absorb sound energy. Professional acoustic designers often recommend a balanced approach, using a combination of diffusion and absorption techniques to create a controlled sound environment.
Lighting design requires equally thoughtful planning. Your home theater lighting should provide complete light control with multiple dimming and color temperature options. Consider installing motorized blackout curtains or shades to eliminate external light completely. Integrated LED lighting systems allow you to create ambient lighting scenes that enhance the viewing experience without causing screen glare.
Zoned lighting configurations provide maximum flexibility. Perimeter LED strips can create soft background illumination, while precise spotlighting can guide viewers safely during movie transitions. Programmable lighting systems enable you to preset different modes for movies, gaming, or casual entertainment, transforming your space with a single touch.
Electrical infrastructure plays a crucial role in both acoustic and lighting systems. Dedicated circuits prevent power interference that could degrade audio or visual performance. Professional installation ensures clean power delivery and minimizes potential electrical noise that might compromise your entertainment experience.
Verification Checklist:
Acoustic panel placement mapped
Lighting control system designed
Power infrastructure evaluated
Sound absorption ratios calculated
Glare reduction strategies implemented
Step 5: Integrate Smart Automation Systems
Smart automation transforms a traditional home theater into an intelligent, responsive entertainment environment. By seamlessly connecting audio visual components, lighting, climate control, and user interfaces, you create a sophisticated system that anticipates and adapts to your viewing preferences.
Central control systems serve as the brain of your home theater automation. These sophisticated platforms allow you to manage multiple technological elements through a single interface. Professional-grade systems enable complex programming that can trigger entire scene changes with a single command. Imagine walking into your theater and having lights dim, projector activate, sound system calibrate, and room temperature adjust automatically to your preferred entertainment setting.
Carefully evaluate integration compatibility between different technological components. Not all smart home systems communicate seamlessly, so selecting platforms with robust cross-device communication protocols becomes crucial. Look for systems supporting industry-standard communication frameworks like Z-Wave, Zigbee, or comprehensive platforms that offer universal device integration.
User interface design determines the sophistication of your automation experience. Contemporary smart home theaters offer multiple control options including smartphone apps, dedicated touchscreen panels, voice commands, and traditional remote controls. Design your system to provide intuitive, layered control that feels natural and reduces technological complexity. Advanced systems can learn user preferences, automatically adjusting settings based on previous viewing habits.
Consider future expandability when selecting your automation infrastructure. Modular systems that allow incremental upgrades prevent technological obsolescence. Prioritize platforms offering regular firmware updates and cloud-based management capabilities. This approach ensures your home theater remains cutting-edge without requiring complete system replacement.
Power management represents another critical automation consideration. Intelligent power distribution systems can reduce energy consumption by automatically powering down components when not in use. Surge protection, voltage regulation, and scheduled power cycling protect your expensive audio visual equipment while optimizing electrical efficiency.
Verification Checklist:
Comprehensive device compatibility confirmed
Central control system selected
Multiple control interfaces mapped
Expandability options evaluated
Energy management strategies designed
Step 6: Test and Optimize Your Home Theater Experience
The final stage of your home theater creation involves meticulous testing and fine-tuning, transforming your carefully designed space from a theoretical concept into a perfect entertainment sanctuary. This critical phase ensures every technological component performs at its absolute peak, delivering an immersive experience that exceeds your expectations.
Audio calibration represents the most intricate optimization process. Professional sound calibration requires specialized measurement microphones and analysis software that map your room’s acoustic characteristics. Position the calibration microphone at multiple listening positions to capture comprehensive sound performance. Modern audio receivers offer automatic room correction technologies that analyze sound reflections, speaker distances, and frequency responses, generating precise equalization settings tailored to your specific space.
Visual performance demands equally rigorous testing. Projector and display calibration involves adjusting color balance, contrast, brightness, and black levels to achieve reference-grade image quality. Use professional calibration discs or specialized test patterns that help fine-tune every visual parameter. Consider hiring a certified video calibration expert who can leverage professional-grade equipment to optimize your display’s performance beyond standard manufacturer settings.
Systematic testing across multiple content types provides comprehensive performance validation. Select reference materials that challenge your system’s capabilities. High-quality Blu-ray discs with complex soundscapes, 4K HDR content with intricate visual details, and immersive object-based audio tracks will reveal any subtle performance limitations. Gaming content can also stress-test response times and audio visual synchronization.
Automation system integration requires comprehensive functional testing. Verify that lighting scenes, audio presets, and equipment startup sequences execute flawlessly. Create multiple scenario scripts that simulate different viewing experiences. Test voice commands, smartphone interfaces, and traditional remote control functionality to ensure seamless, intuitive control across all platforms.
Remember that optimization is an ongoing process. Schedule periodic recalibration as room conditions change and technology evolves. Dust accumulation, furniture repositioning, and equipment aging can subtly impact performance. Maintaining detailed records of your initial calibration settings provides a valuable reference point for future adjustments.
Verification Checklist:
Audio calibration completed
Visual performance optimized
Automation sequences tested
Multiple content types evaluated
Comprehensive performance documentation created
Transform Your Home Into a Luxury Theater With Proven Experts
You have just learned how much detail and expertise goes into creating a true luxury home theater. Questions about space assessment, acoustics, smart automation, and seamless integration are probably at the top of your mind. The biggest challenge comes down to turning vision into reality without compromise. If your goal is stunning visuals, crystal-clear sound, and effortless control but you feel overwhelmed by the technical steps or want to avoid costly mistakes, you are not alone.

Make your dream theater a reality with personalized guidance from Techology Experts. Our team specializes in high-end audio-visual and custom smart automation installations for discerning Houston-area homeowners. We use advanced planning, professional calibration, and premium technology solutions to deliver an entertainment space that exceeds expectations. Ready to enjoy the ultimate home theater experience? Visit Techology Experts today to request your tailored consultation and elevate your home entertainment now.
Frequently Asked Questions
What are the key factors to consider when assessing my room for a luxury home theater?
Begin by measuring the room’s dimensions, accounting for ceiling height, wall lengths, and obstacles like windows and doors. Examine the room’s acoustic properties, natural lighting conditions, and your specific entertainment preferences to ensure an optimal design.
How can I effectively budget for my home theater project?
Start by breaking down your budget into categories, including audio equipment, visual systems, seating, and potential structural modifications. Prioritize essential components like projectors and sound systems, allocating around 50-60% of your budget to these core technologies while leaving room for secondary investments.
What is the ideal layout for a home theater?
The layout should focus on screen placement, sound system configuration, and seating arrangement. Ensure the screen size corresponds to viewing distance, and position surround sound speakers carefully to enhance audio immersion. Comfortable seating and lighting are also crucial for a pleasant viewing experience.
How important are acoustic treatments and lighting in my home theater design?
Acoustic treatments significantly enhance sound quality by reducing unwanted echoes and reflections, while thoughtful lighting design creates a comfortable viewing environment. Both elements are critical for achieving a professional-grade home theater experience.
Recommended
Comments